
how to make your own kombucha scoby
Some people may think SCOBYs look gross, but they are an important part of brewing kombucha, and I’m going to show you how to make your own kombucha SCOBY.
While we recommend buying one online or getting one from a friend who’s a home brewer, the third option is to make your own SCOBY from scratch. If you have a lot of time and like experiments, then growing a kombucha SCOBY may be for you! Fair warning: this process usually takes around a month!
Not sure what a SCOBY is? Would you rather just buy one to save yourself weeks of waiting? Check out this article first.
Page Contents
How is it possible to grow a SCOBY from nothing?
Kombucha contains live bacteria and yeasts that are present from the start of the brew to the final drink. To grow a SCOBY from “nothing”, you will need to get these bacteria and yeasts from somewhere in order for them to naturally reproduce and eventually make a SCOBY.
The same microorganisms that are present in the gelatinous SCOBYs are also present in the kombucha liquid itself. While many brands pasteurize their kombuchas to preserve shelf life, the truly raw, unpasteurized kombuchas will have these bacteria and yeasts that you need.
Have you ever seen little blobs in kombucha bottles that you bought at the store? These are baby SCOBYs forming due to the number of live microorganisms still present in the bottle.
Kombucha is a very hardy drink, and its bacteria and yeasts are extremely resistant. This is good news for brewers and someone like you who wants to grow their very own SCOBY from scratch.
This article will show you how to make your own SCOBY using only a bottle of store-bought kombucha and a few other items.
Is Making Your Own SCOBY safe?
The main concern people have when wanting to make their own SCOBY is if it’s safe.
During a normal kombucha brewing process, the SCOBY you add to the brew adds an extra layer of protection to potentially harmful, foreign bacteria.
A jar of kombucha without a SCOBY is more vulnerable to problems, but if you follow this guide, everything should work out just fine.
That being said, make sure to sanitize all your equipment before use. We recommend using boiling water to do this. Don’t forget to wash your hands and make sure they are clean and free of any soap residue before handling the SCOBY.
If at any point during this process, you smell something rancid or bad and not tart or vinegar-like, you should toss the liquid and start again.
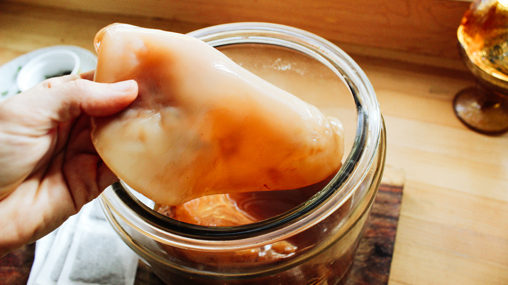
You will see weird bubbles and films forming if things go well – this is just the SCOBY developing. It might not be the prettiest sight, but this is simply how it grows. Brown yeast strands are normal too. However, if you see fuzzy black, green, or blue spots, then you probably have mold.
Alright, time to grow a SCOBY!
How To Make Your Own Kombucha SCOBY
Ingredients
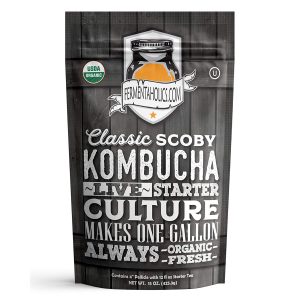
- 2 cups (16 oz.) raw, unpasteurized, unflavored kombucha
- We recommend using GT’s Original Kombucha, which is exactly 16 fluid ounces. Only go with brands you trust and make sure no fruits, juices, or herbs were added. Stay away from brands that pasteurize their kombucha – this kills the microorganisms to preserve shelf life!
- 1-2 tablespoons organic cane sugar
- You’ll always need sugar if you plan to start brewing kombucha regularly – here’s the organic cane sugar we buy in bulk.
- 1 teaspoon organic, loose-leaf black tea
- If you prefer to use tea packets, use 1 tea packet.
- If you plan on using more black tea to brew kombucha after, we recommend this organic tea.
- Filtered water (free of chlorine and other chemicals)
Kombucha Brewing Equipment
- 1-quart or larger glass jar (avoid plastic or metal)
- Note: 1-quart jars hold up to 4 cups of liquid
- Breathable cloth cover (Pick anything that lets air through but keeps out insects. We like to cut up old cotton shirts, but coffee filters or bandanas work too.)
- Rubber band
Kombucha Brewing Instructions
- Buy a bottle of raw, unflavored kombucha.
Optional Step: Make 1 cup of black tea.
Place the tea in a suitable mug, pot, or french press. Boil 1 cup of water and add it to the tea. Steep for 10-15 minutes, then filter out the leaves (or remove the tea packet). Add the sugar to the tea and mix well until dissolved. Let the tea cool down to room temperature.
This step gives the bacteria and yeasts extra “food” to consume to help them reproduce and form a SCOBY quicker. While homebrewers have made SCOBYs successfully without adding tea, we recommend following this step to help speed up the process.
- Pour the cooled tea into your glass jar.
- Pour raw kombucha into the glass jar.
- Cover the jar with the breathable cloth, securing tightly with a rubber band.
- Move the jar to a spot out of direct sunlight with a temperature between 68-86ºF (20-30ºC). Do not agitate, touch, or adjust the jar for the next 2-6 weeks. This will interrupt the growth of the SCOBY you are trying to grow!
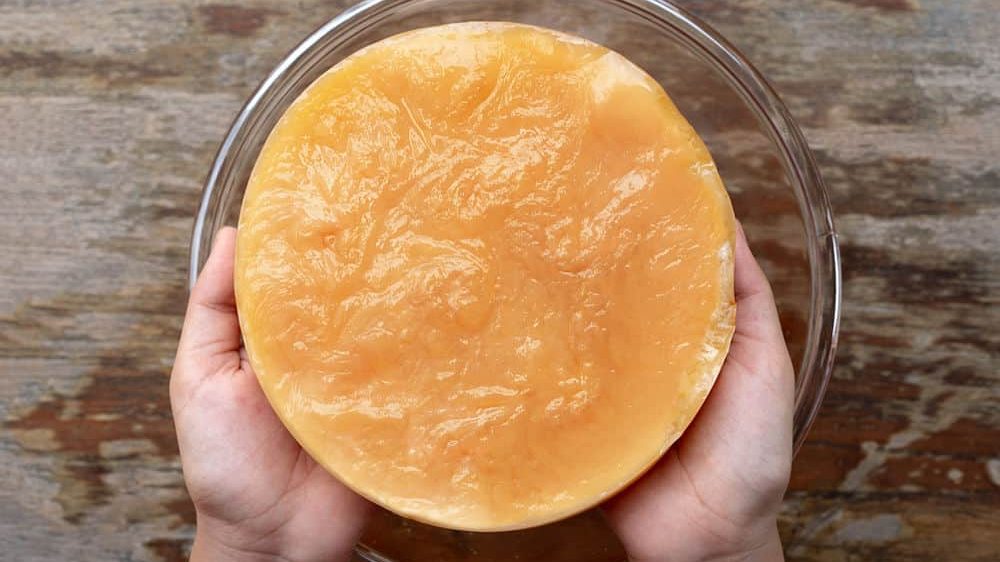
- Wait until the SCOBY is at least 1/4 inch thick. Once it reaches this size, you may use the SCOBY and the remainder of the kombucha as the starter liquid for your first batch of kombucha!
What to Expect
- For the first few days, nothing will happen. Sit back, relax, and hang tight.
- After a few days, tiny bubbles will start collecting on the top of the liquid.
- A thin film will then start to form with bubbles around the edge. The bubbles are carbon dioxide being released, which is a good sign! This means that fermentation is happening.
- The film will slowly become thicker and more opaque in color.
- The SCOBY should eventually reach 1/4 inch thickness around a month or so. Some homebrewers report their SCOBYs growing in just 2 weeks, while others have waited 6+ weeks. Be patient!
- The SCOBY may be patchy or rough in appearance… this is normal! Each time it is used to brew a batch of kombucha, it will grow a bit bigger.
That’s it! Once you have your new SCOBY ready, check out our guide to the first fermentation to get started making kombucha at home.
Happy brewing!